
As part of your Solana development journey, you will need to get comfortable with the Solana CLI.
It is very powerful and very important to understand a few commands to do some specific tasks:
- create wallets
- update your Solana network settings
- airdrop free SOL (aka fund your account)
- run a test validator
- deploy Solana programs
PS: I also created a YouTube video for this Solana tutorial.
This guide assumes you already have the Solana CLI installed. If you do not, checkout my guide on how to install Solana on Linux
Create a Solana wallet for development
In order to deploy Solana programs to the blockchain (either a local validator or a remote RPC), you will need to have a Solana wallet created. For simplicity, we will create a file system wallet that will store our private key in a file on your computer. This way, we can easily tell the Solana CLI and/or Anchor CLI to use this wallet to deploy our Solana programs.
The default file system wallet is usually located at ~/.config/solana/id.json. When you create
new file system wallets, you can specify any specific file location with the "--outfile
/path/to/file" flag.
To create a new Solana wallet:
solana-keygen new --outfile ~/.config/solana/solfate-dev.jsonWhen creating each wallet, you can also set a passphrase (just like an SSH keyfile).
I STRONGLY RECOMMEND setting a wallet passphrase one, especially for any wallet that you may use in production at some point!!!
After your wallet is created, you will get a readout of your "pubkey" (aka your wallet address) and your seed phrase. Don't forget to write down your seed phrase in a safe place if you are going to actually keep this wallet address.
Read your Solana config settings
To accomplish anything on the Solana blockchain, even with a local test validator, you will need to ensure your Solana CLI is set to connect to the correct Solana RPC network and with the correct wallet.
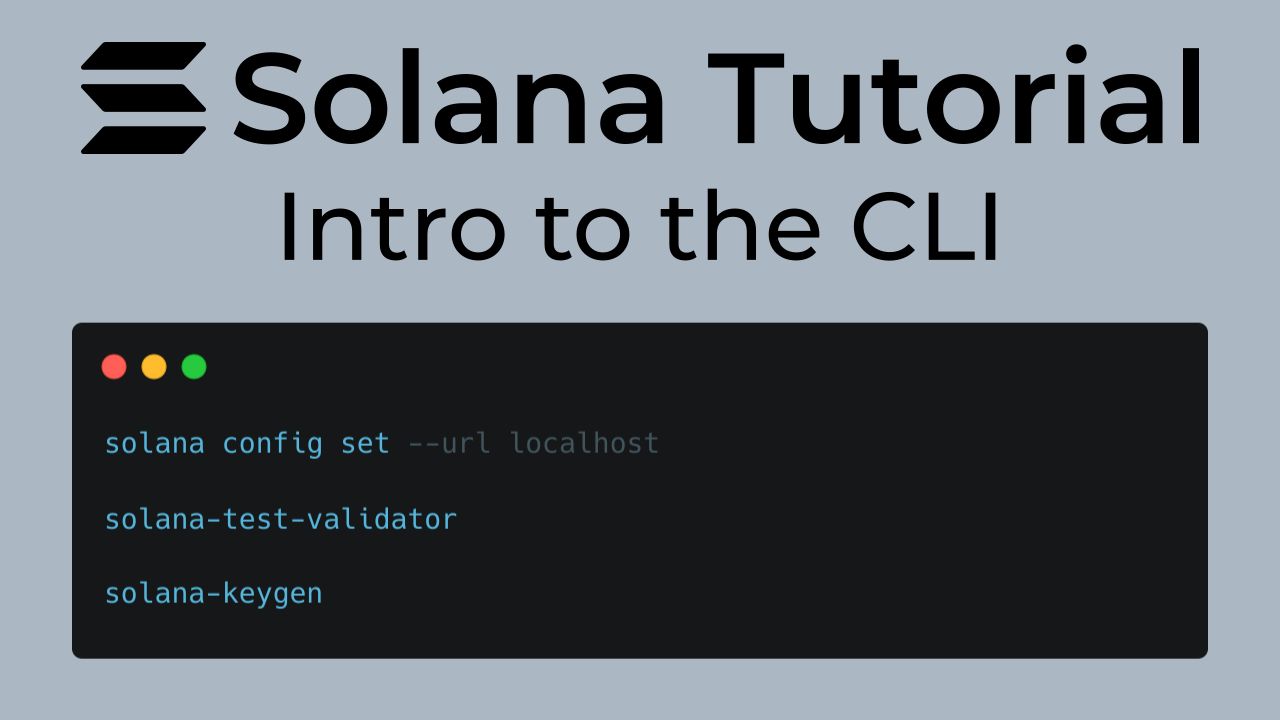
To see your current Solana CLI settings, run this command:
solana config getYou should get a readout like this:
Config File: /home/nick/.config/solana/cli/config.yml
RPC URL: https://api.testnet.solana.com
WebSocket URL: wss://api.testnet.solana.com/ (computed)
Keypair Path: /home/nick/.config/solana/id.json
Commitment: confirmed
The VERY important settings are the "RPC url" and the "keypair file".
- RPC url - tells the CLI which Solana network cluster you want to connect to. Generally, for local developing you should be set to your own local test validator (aka localnet). Only the "mainnet" RPCs will actually use real SOL tokens and therefore real money
- keypair file - the wallet private key (like the one we created above) to use to deploy programs and interact with the RPC
Update your Solana config settings
When you want to change your Solana network settings or change your default wallet key file, you will need to update your config settings with the Solana CLI.
When setting your RPC url (aka changing your Solana network), you can either use the network short name (like "mainnet", "testnet", etc.) or the full URL for an active RPC node:
solana config set --url testnetTo change the wallet key file being used by the CLI:
solana config set --keypair /path/to/fileCheck your wallet balance
You will need SOL to interact with the blockchain, even while developing. You can always easily check your wallet (or anyone's wallet) balance using the Solana CLI.
To check the balance your CLI configured wallet address (aka the one you have set with your file system keyfile):
solana balanceTo check any other wallet's balance:
solana balance WALLET_ADDRESS_HEREThe solana balance command will only check the balance of the given wallet on the currently
selected Solana network.
Fund your wallet (via airdrop)
With your new wallet setup, and selected to the correct RPC network, you will need to fund your wallet with SOL. This SOL will be used to deploy programs to the blockchain, as well as pay for rent and transactions while you are developing programs.
Periodically as your deploy/interact with Solana programs, you will need to fund your wallet with SOL (the native Solana token).
You can fund your account using two methods:
1. Airdrop via the Solana CLI
To request a free airdrop to your currently selected wallet:
solana airdrop 1The solana airdrop command has a limit to the amount of SOL that can be dropped. Any request
passed this limit will cause the transaction to fail. At the time of writing this, the limit is 2.
Just like you may have guessed, the airdrop will occur on the network you are selected to in your Solana config settings. And no, airdrop does not work on mainnet. Don't be silly.
2. Airdrop via the Solfate faucet
Another easy way to get your free devnet and/or testnet SOL airdropped to your wallet is using a public faucet. Here at Solfate, we operate a public Solana faucet.
All you need to do is enter your wallet address, and click the button for the Solana network you want: devnet or testnet
Run the Solana test validator
Like I mentioned earlier, when you are developing your Solana programs locally you will most likely want to run a localhost version of the Solana blockchain called the "test validator". Just like you may think, this will allow you to full fledge version of the Solana blockchain directly on your local computer.
Running and developing using the test validator is great (and recommended) for a few reasons:
- even faster transactions (you are the only one making them!)
- less risk of rejected transactions
- no throttling from public RPC endpoints
- easy access to Solana program logs (via the "msg" macro in rust)
To run the Solana test validator, open a new terminal window and run the following command:
solana-test-validatorThis localhost network, aka "localnet", running in your terminal will output all the messages your Solana program outputs to the blockchain. Which is a great way to help debug your programs.