It is easy and quick, especially if you are running an XAMPP localhost web server.
One of the best things about running your own localhost XAMPP web server is being able to do all the testing and projects you want for no charge at all. One of the things that gets forgot about in a lot of these cases is some basic security practices, like not using the default password.

For almost every XAMPP installation, people tend to keep their default BLANK password. That's not very security conscious of us now is it? The good news is that you can change the root password (aka admin password) for your localhost phpMyAdmin/MySQL account in just a few minutes. Here's How!
First, start your MySQL/Apache server
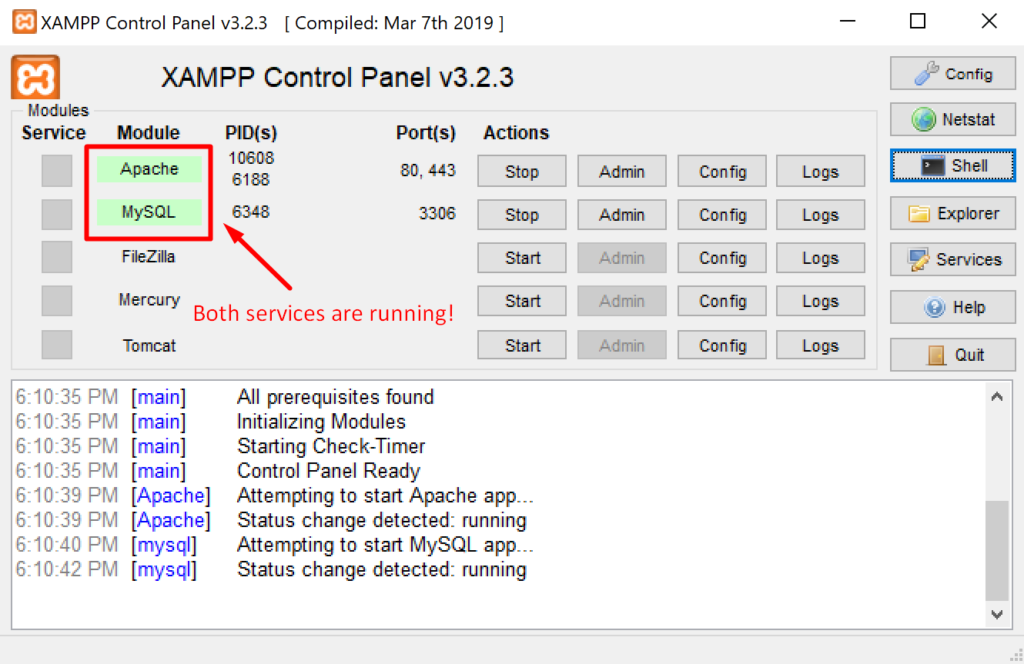
First open up your XAMPP control panel and verify that Apache and MySQL are running. You will know they are running by their names being highlighted in green.

Next, launch the specialized Windows command prompt by clicking the "Shell" button on the right hand side. This will open a black window titled "XAMPP for Windows".
How to change the root password for MySQL
In the command prompt type the following:
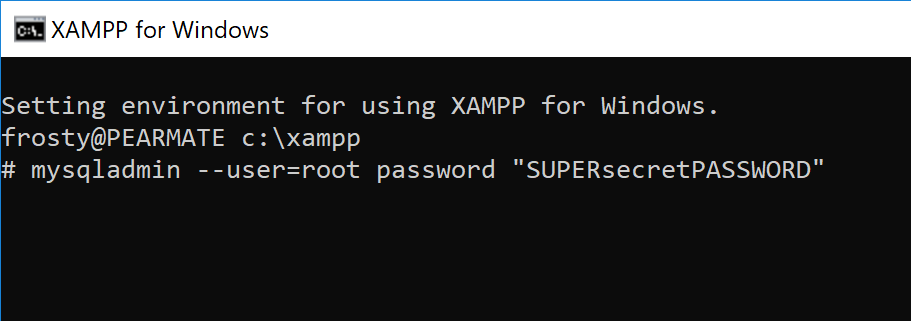
mysqladmin --user=root password "SUPERsecretPASSWORD"Note the double hyphen before the user, these are important. If you do not have these double hyphens then the command will not work. Think of them as part of the correct syntax for the command.
This will reset the user named "root" with a new password of "SUPERsecretPASSWORD" (without the quotes). In order for this command to work correctly, you must have the double quotation marks.

This command will let you set the password only if you are using the default BLANK password. If your password has already been set or changed at another time, you will need to use the following command:
mysqladmin --user=root --password=OLDpass password "NEWpassword"Where "OLDpass" would be your current password for the "root" user. Again, note the double hyphen before the "user" and "password".
This password reset can work for any and every MySQL and phpMyAdmin accounts that exists. You just have to change the username and password in the command.
Verify the root password change worked!
Now like any good computer nerd, it is always a good idea to make sure the password was changed successfully. To do this we will run a simple SQL command in the command prompt using our username and password:
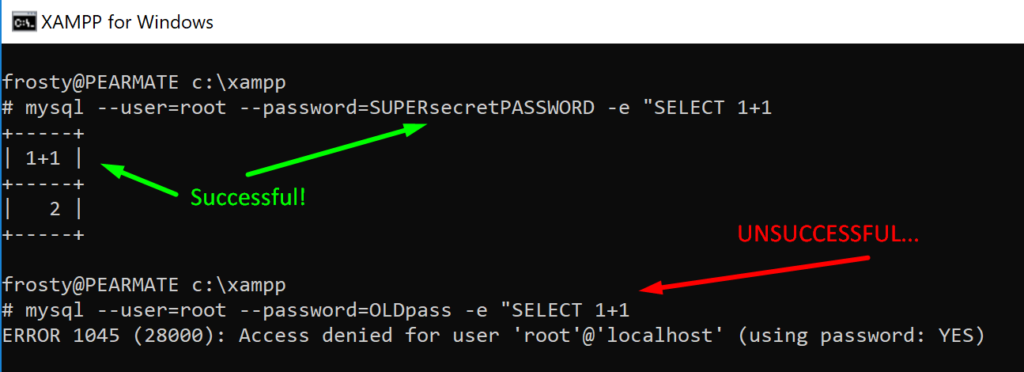
mysql --user=root --password=SUPERsecretPASSWORD -e "SELECT 1+1"
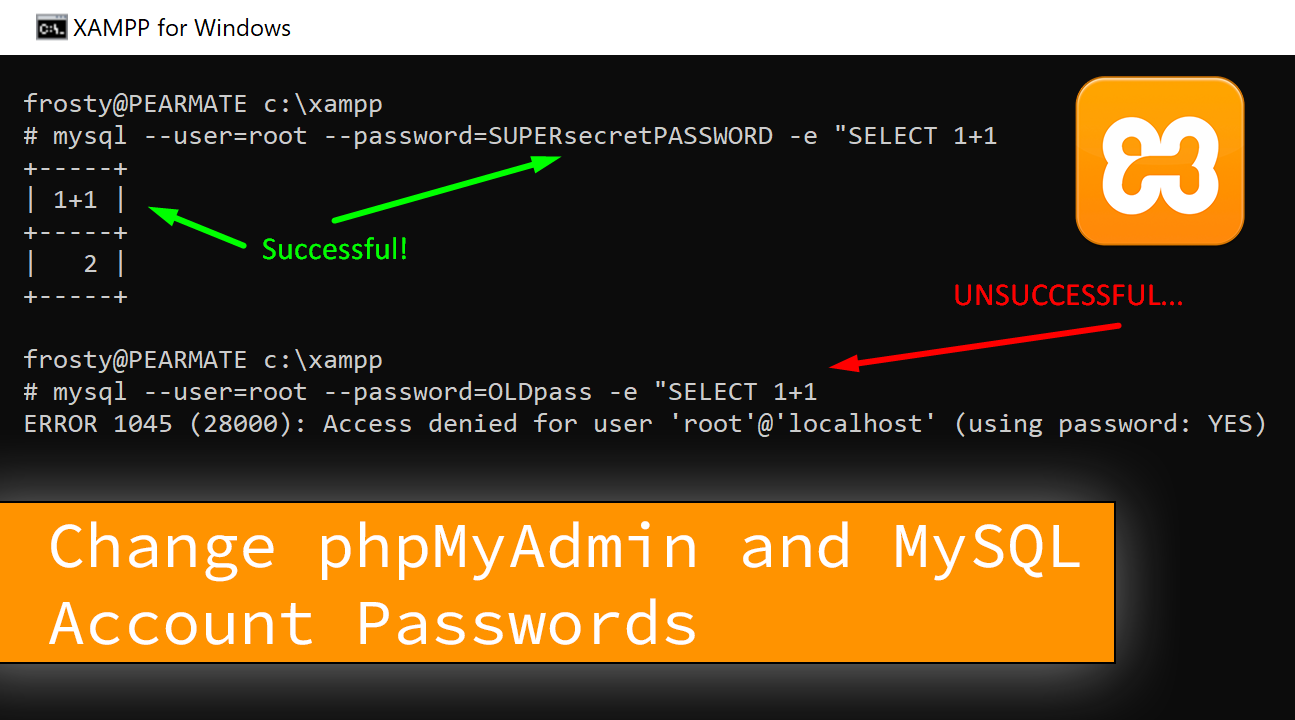
- If the password change was successful, you will see a small ASCII chart made that looks like it doing some basic math, like in the picture above.
- If the password change was unsuccessful, you will see an error message stating "Access denied for user root@localhost" (or whatever your username is).
Enable username/password logins
After you have set a password, or changed your password for the MySQL account, you should update your login style of phpMyAdmin. It is super easy to do. Browse over to the phpMyAdmin configuration file, config.inc.php.
You can find it inside your phpMyAdmin installation directory. If you are using XAMPP, then it will be (C:\xampp\phpMyAdmin\config.inc.php).
After you open the phpMyAdmin config file, you need to enable regular style logins. Browse the file, or control + F, to find the "auth_type" variable. (Learn about the auth_type here) It will likely have a complete line looking like this:
$cfg['Servers'][$i]['auth_type'] = "config";Update the value of the "auth_type" and set it equal to "cookie". By setting this, you will enable cookie logins for phpMyAdmin. This way you will be able to login using the phpMyAdmin login form and entering your username and password.
